
Top Mistakes to Avoid When Installing Rubber Flooring
Installing rubber flooring seems simple, but small mistakes can turn into costly problems. Let’s make sure you avoid the biggest pitfalls from the start.
The biggest mistakes when installing rubber flooring are skipping subfloor preparation, using wrong adhesives, and not allowing proper acclimation time. Always plan carefully to ensure a professional and lasting result.
1. Poor Subfloor Preparation
Skipping subfloor preparation is the #1 reason floors fail early.
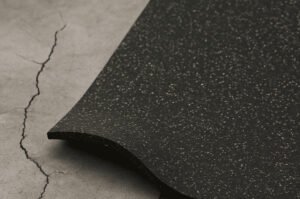
If the surface isn’t flat, dry, and clean, rubber tiles and rolls won’t bond properly—causing bubbles, shifting, or curling.
| Subfloor Issue | Impact | Solution |
|---|---|---|
| Moisture | Adhesive failure, mold | Use moisture barriers |
| Uneven surface | Visible bumps, loose tiles | Grind or patch with self-leveling compound |
| Dust & debris | Weak adhesive bond | Sweep and vacuum completely |
| Cracks | Tears in rubber layer | Fill and smooth before laying tile or roll |
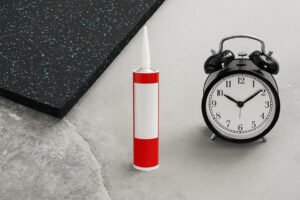
2. Using the Wrong Adhesive
The wrong glue will destroy a perfect install.
Rubber flooring needs specific adhesives based on product and environment. Generic glue won’t do.
| Flooring Type | Recommended Adhesive |
|---|---|
| Rubber Tiles (SBR or Composite) | Two-part polyurethane adhesive |
| Rubber Rolls | Pressure-sensitive or acrylic adhesive |
| Outdoor Rubber Flooring | Urethane (weather-resistant) |
👉 Need help choosing glue? Read our Rubber Flooring Adhesive Guide
3. Skipping Acclimation
Installing rubber straight from the pallet leads to shrinkage or gapping.
Rubber must acclimate in the install room for 24–48 hours to match temperature and humidity.
Tips:
- Unpack rolls and tiles flat (not stacked)
- Keep room stable (18–25°C recommended)
- Avoid drafts or sudden temperature changes
📚 Related: How Long Does Rubber Flooring Take to Dry?
4. No Layout Planning
Skipping layout = mismatched seams, wasted product, and crooked results.
Always dry-lay your tiles and mark layout lines before installing.
Best practices:
- Mark center and guide lines with chalk
- Plan roll direction to minimize seams
- Pre-trim for walls or irregular shapes
- Leave 2–5mm expansion gaps if required
🛠️ Recommended Tool: Rubber Flooring Cutter
✅ Conclusion
Good installation = great results.
Avoid:
- Poor subfloor prep
- Wrong glue
- No acclimation
- Bad layout
🔗 Want more help? Explore our Rubber Flooring Installation Tips
📦 See All Rubber Flooring Products
📧 Contact us for advice: info@lanhefloor.com