
5 Rubber Roll Installation Mistakes (And How to Avoid Them)
Think rolling out rubber flooring is foolproof? Think again.
Many gym owners make costly mistakes when installing rubber rolls — from bubbles to bad seams. Here’s how to avoid the top 5 issues before they ruin your project.
These mistakes are especially common in commercial gyms, functional training areas, and large fitness studios, where rubber rolls are installed wall-to-wall and exposed to daily high traffic.
You don’t need to be a professional installer to get a clean result — but you must avoid these common errors if you want your flooring to perform well for years.
Mistake 1: Not Letting the Rubber Roll Acclimate
Skipping the waiting period may save time, but it often leads to poor fit and edge lifting.
Rubber rolls need 24–48 hours to relax and adjust to room temperature before installation.
Why it matters
Rubber expands and contracts with temperature. If installed too early, it may shrink later — causing seam gaps or curling edges.
Correct method:
- Unroll the rubber and lay flat for 24–48 hours
- Keep room temperature steady (18–25°C recommended)
- Don’t glue on Day 1
| Step | Duration | Purpose |
|---|---|---|
| Unroll flat | 24–48 hours | Let material relax |
| Maintain temp | Room level | Avoid post-install movement |
| Delay adhesive | 1–2 days | Prevent bubbles & lifting |
Explore more rubber roll installation tips.
Mistake 2: Using the Wrong Adhesive or Tape
Not all adhesives are equal — and the wrong choice can ruin the install.
Glue is essential for high-traffic areas. For light-use zones, strong double-sided tape may be enough — but only if it’s quality-grade.
Adhesive selection should always be based on traffic intensity, roll thickness, and subfloor condition.
What to avoid:
- Household white tapes — they dry and peel
- Weak spray adhesives — poor tension hold
- Over-gluing — leads to trapped air bubbles
Use instead:
- ✅ High-strength double-sided flooring tape
- ✅ Solvent-free, approved rubber flooring glue
Learn more on our rubber flooring solutions page.
Mistake 3: Not Aligning Rolls Properly
Even a 1cm offset at the start can ruin an entire room layout.
Always align rolls from one corner using chalk lines or lasers — and never assume the factory-cut edge is perfect.
Why alignment mistakes are hard to fix later
Once rubber rolls are glued, correcting alignment errors usually requires full removal and reinstallation, increasing both labor cost and material waste.
How to do it right:
- Snap a chalk line as your baseline
- Overlap and double-trim for precise edges
- Align patterns if using EPDM-speckled rolls
| Tool | Purpose |
|---|---|
| Utility knife | Precise trimming |
| Chalk line | Perfect reference layout |
| Metal ruler | Straight-edge cutting support |
Prefer interlocking tiles instead? Browse gym rubber tiles.
Mistake 4: Skipping Subfloor Cleaning
Dust and debris may be invisible — but they’re a top reason for adhesion failure.
Rubber rolls won’t bond well to dirty, oily, or bumpy concrete.
In commercial projects, subfloor contamination is one of the top three causes of early flooring failure.
How to prep your subfloor:
- Vacuum thoroughly — don’t just sweep
- Scrape off paint, adhesive, or oil spots
- Use a leveling compound if uneven
🧹 A clean, flat base = smooth, long-lasting rubber floor.
See how it should look in our project gallery.
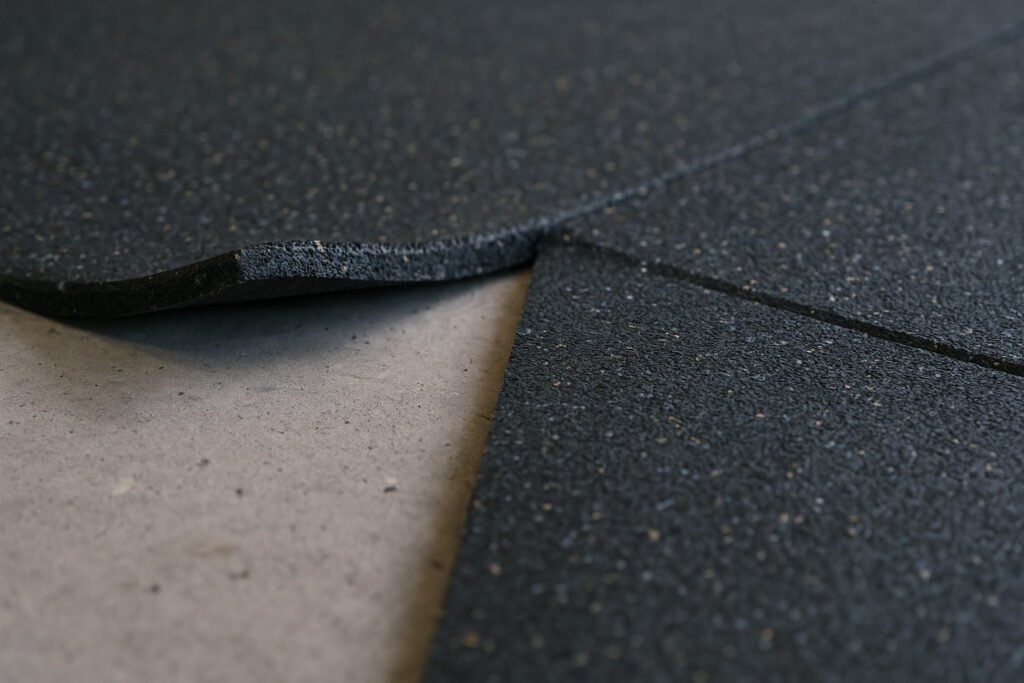
Mistake 5: Loose Seams or Poor Trimming
Loose seams lead to water intrusion, trip hazards, and premature wear.
Trim your rubber rolls tightly. Use seam adhesive or heat weld where necessary.
Seam tips by application:
| Area | Seam Method | Notes |
|---|---|---|
| Home gym | Tight trim only | Tape may be sufficient |
| Commercial gym | Seam adhesive recommended | Prevents gaps and roll movement |
| Yoga / Office | Welded seam optional | Better aesthetics & longevity |
Choosing the right seam method early helps reduce maintenance issues and extends the flooring’s service life.
Want low-maintenance flooring alternatives?
- Outdoor Rubber Floor
- EPDM Granules for Playgrounds
- Tiny Granule Rubber Tile
- Composite Rubber Tile
- Puzzle Rubber Tile
📞 Ready to get a smooth, professional gym floor?
We help partners avoid installation mistakes before the flooring arrives on site.
Our factory team supports distributors and contractors worldwide with:
- Pre-cut roll lengths
- Correct adhesive & seam kits
- OEM packaging and fast shipping
👉 Request a Quote or Ask Our Experts
📧 info@lanhefloor.com | WhatsApp: +86 18758325375