
EPDM Rubber Granule Flooring Installation – Step-by-Step Guide for Contractors
Installing safe, colorful, and long-lasting EPDM flooring may look simple — but every step matters.
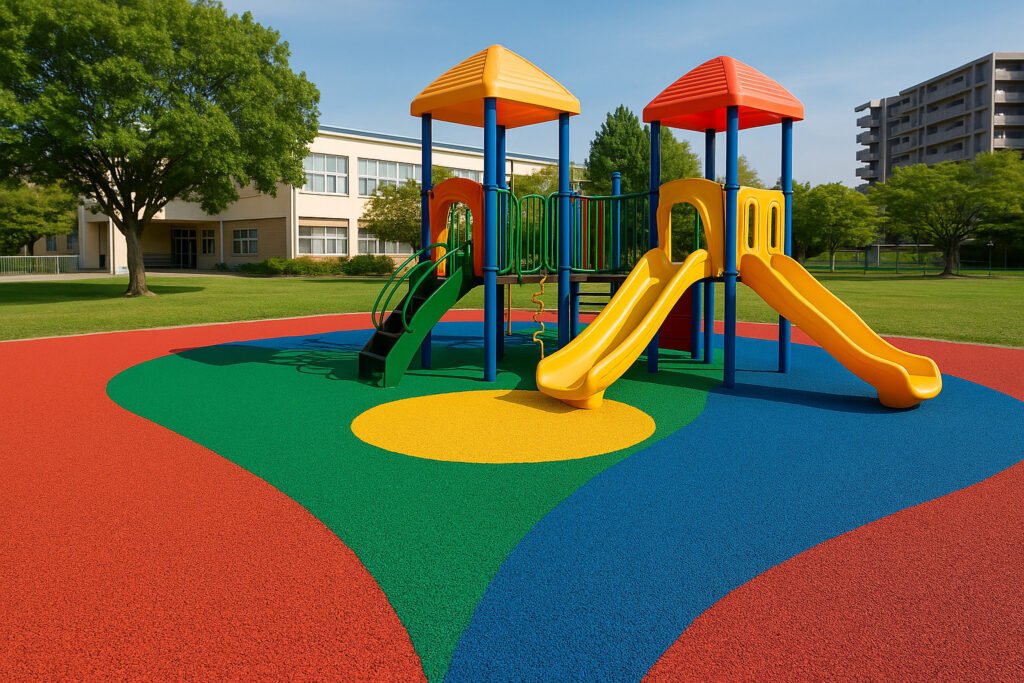
From school playgrounds to rehab walkways, one mistake during installation can mean rework, complaints, or even injuries.
This guide walks you through surface prep, binder ratios, layering method, and curing tips — everything you need for a clean, professional finish.
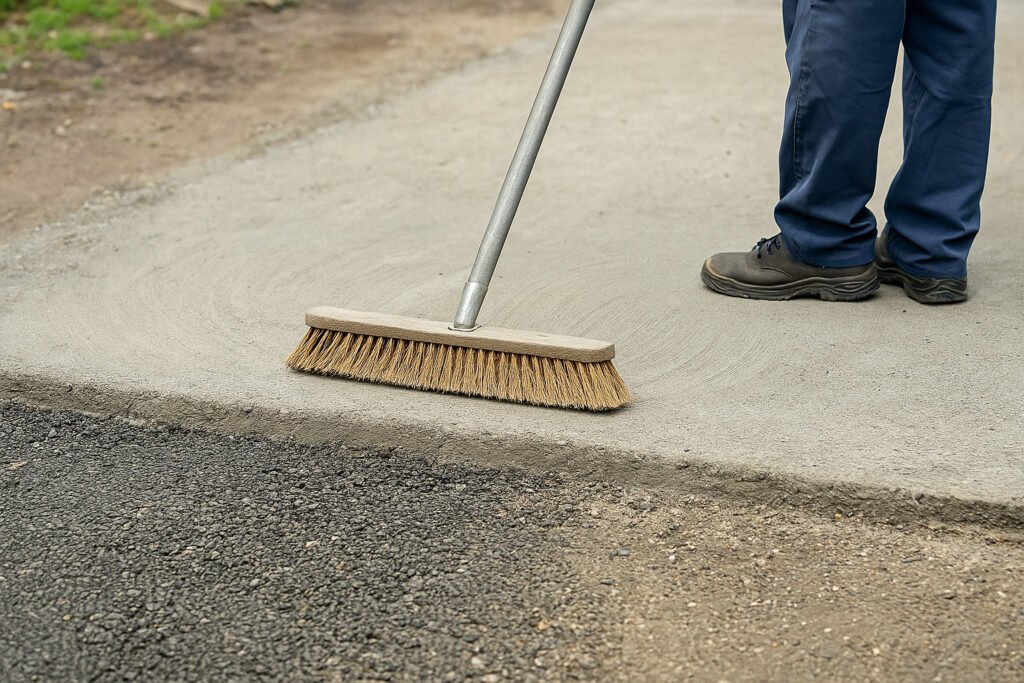
✅ Step 1: How Should You Prepare the Ground?
A strong and clean base is the foundation of a durable EPDM surface.
EPDM should be installed on a solid, dry, and clean concrete or asphalt base with proper drainage to avoid bubbling or cracking.
Surface Preparation Checklist
| Task | Requirement |
|---|---|
| Base type | Concrete / Asphalt |
| Surface condition | Clean, oil-free, dust-free |
| Leveling | Slope deviation ≤ 3mm |
| Moisture control | Must be 100% dry |
💡 Tip: Delay installation if rain occurred within 24–48 hours.
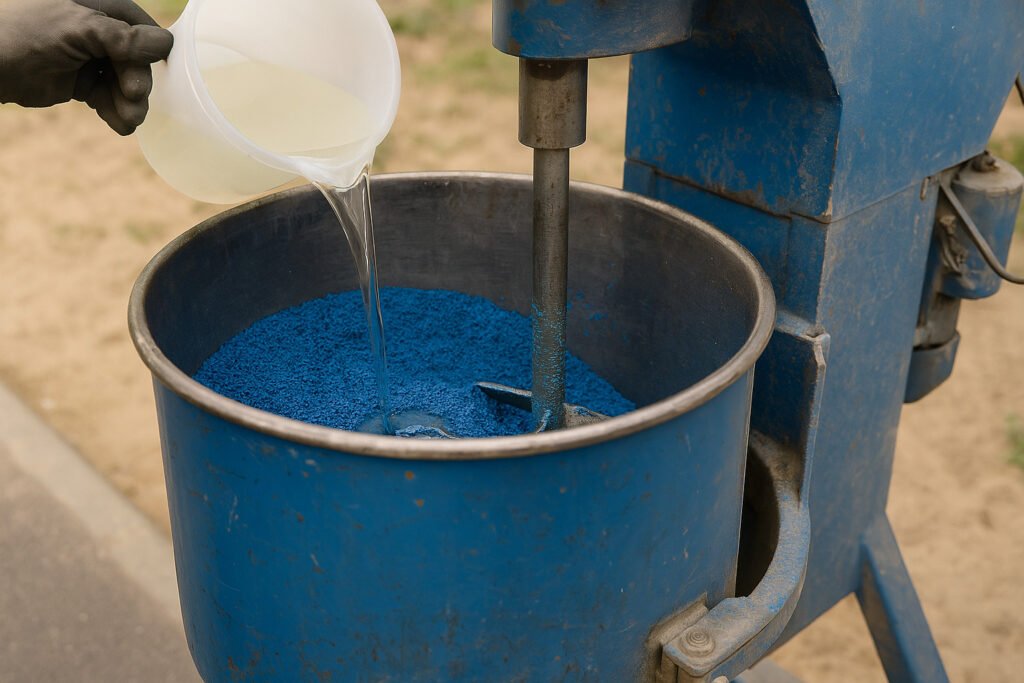
✅ Step 2: What Is the Right Mixing Ratio?
The binder ratio affects softness, durability, and color clarity.
Use a typical weight ratio of 4:1 to 6:1 (EPDM : PU Binder) — depending on the area type and comfort level required.
👉 See PU binder spec – ASTM D624
Suggested Ratios by Area
| Application Area | EPDM : PU Binder |
|---|---|
| Kindergarten playground | 5:1 |
| Community path | 6:1 |
| Rehab center trail | 4:1 |
| Logo / pattern zones | 4:1 |
🌀 Mix thoroughly for 2–3 minutes and pour immediately. No batch waiting!
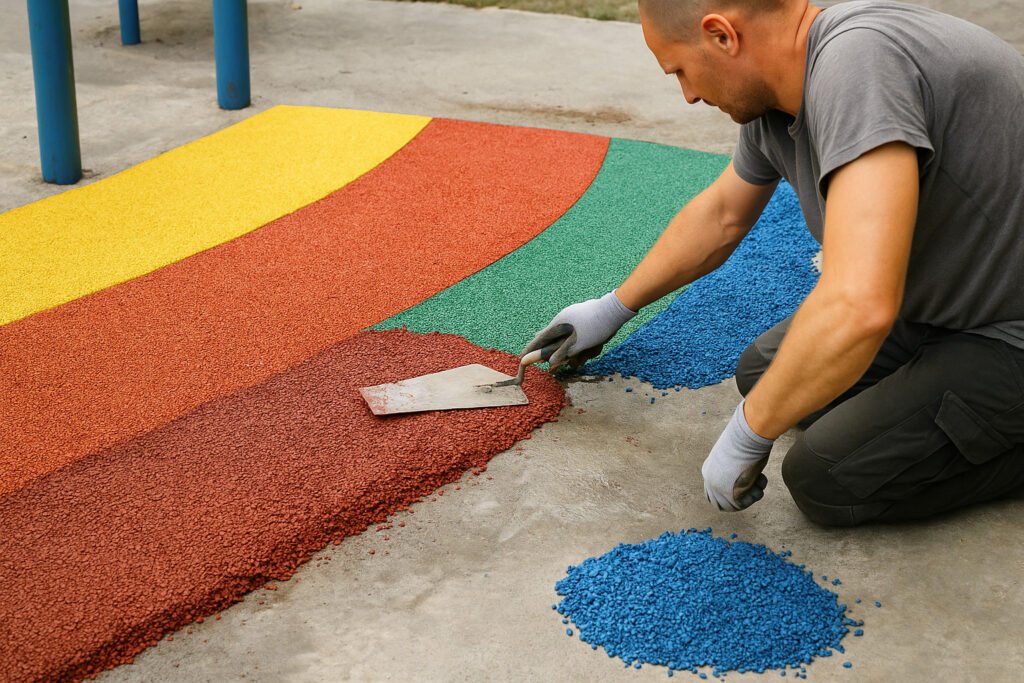
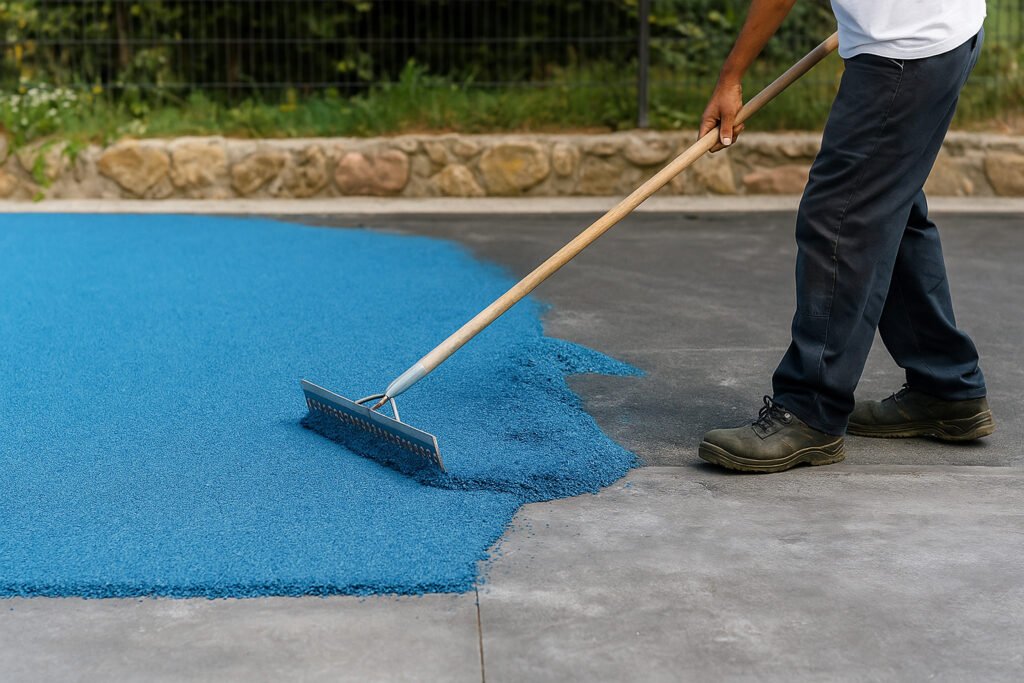
✅ Step 3: What Are the Installation Steps?
EPDM flooring is poured in place — like building a cake with layers.
Optional cushion → EPDM surface → steel trowel finish.
Layer-by-Layer Instruction
| Layer | Material | Thickness | Time Control |
|---|---|---|---|
| Cushion Layer | SBR + PU binder | 5–10mm | Use within 30 min |
| Surface Layer | EPDM + PU binder | 10–15mm | Trowel in 30 min |
| Curing | Air-dry | – | 24–48 hrs |
- Trowel evenly in all directions
- Avoid over-compression (may affect drainage or bounce)
- Best temp: above 10°C
⚠️ Step 4: What Should You Watch Out for?
One wrong move = color mismatch, lifting surface, or cracks in weeks.
Common Installation Mistakes
- 🌧️ Don’t install with rain forecast within 48 hrs
- 🧪 Only mix what you’ll use in 30 mins
- 🎨 Use same batch granules per zone to avoid color difference
- ❄️ Extend curing time if cold or humid
- 📏 Keep thickness even for EN1177 compliance
👉 Want to see real results? Visit our Project Gallery
🧠 Conclusion
EPDM rubber flooring is a safe, high-performance surface — only if installed right.
From base prep to binder ratio, every detail affects durability and safety.
📞 Ready to Build a Long-Lasting Playground or Outdoor Track?
Get expert support from Lanhefloor’s factory team — including binder sourcing, equipment tips, and mixing guides.
👉 Request a Free Quote or Sample
📧 info@lanhefloor.com | 📱 WhatsApp: +86 18758325375
🔗 Related Blog Posts
- EPDM vs. PU Outdoor Flooring – Which Lasts Longer?
- How to Clean EPDM Rubber Flooring
- Is Rubber Flooring Safe for Outdoor Playgrounds?
- EPDM Granules – UV & Rain Resistance Guide
- How Long Does Rubber Flooring Really Last?
#EPDMInstallation #PlaygroundSafety #RubberFlooring #Lanhefloor #BinderRatio #ConstructionTips