
How to Install Rubber Flooring: 10 Tips to Know?
Rubber flooring installation sounds easy—until you’re knee-deep in tiles and stuck with seams that won’t line up.
To install rubber flooring correctly, you need to prepare the subfloor, choose the right adhesive or interlock system, and follow proven methods to ensure safety, durability, and a clean finish.

What tools and materials do you need to install rubber flooring?
You need utility knives, T-squares, double-sided tape or adhesive, a clean subfloor, and safety gloves to install rubber flooring effectively.
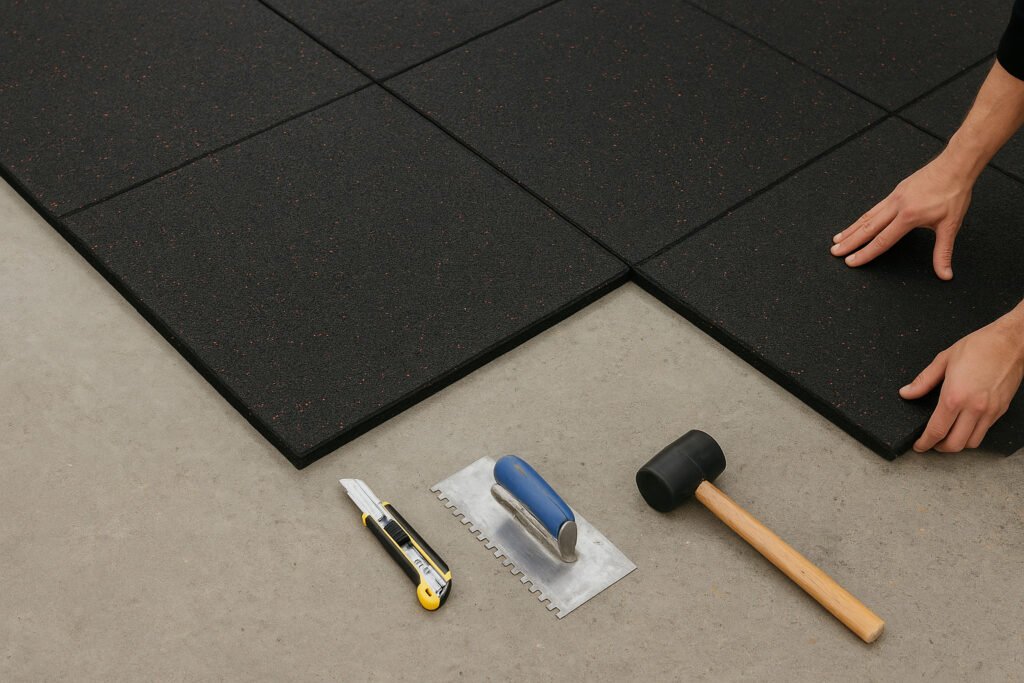
| Item | Use Case |
|---|---|
| Utility Knife | Cutting tiles and rolls |
| Straight Edge / T-Square | Clean, straight cuts |
| Chalk Line | Layout planning for alignment |
| Rubber Mallet | Press interlocking tiles into place |
| Double-sided Tape | For rubber rolls (temporary zones) |
| PU Adhesive / Glue | For permanent tile install (weight zones) |
| Clean Subfloor | Required for bonding and even surface |
| Gloves & Knee Pads | Safety during manual installation |
📘 Related: EPDM Rubber Flooring Installation Guide
How do you prepare the subfloor before laying rubber flooring?
Ensure the subfloor is clean, dry, and level. Remove all debris and repair any cracks or uneven areas.

Step-by-Step Preparation
- Sweep and vacuum
- Mop (if needed) and allow to dry
- Fill cracks with leveling compound
- Test moisture on concrete
- Let rubber acclimate 24h before install
🔗 Subfloor prep importance – FCNews
Should you use glue or install rubber flooring without it?
Use glue in weight zones, tape in yoga zones, and no adhesive for interlocking tiles.
| Area Type | Flooring Type | Adhesive Needed? | Method |
|---|---|---|---|
| Weight Zone | Rubber Tile (25–50mm) | Yes (PU glue) | Glue-down |
| Functional Zone | Interlocking Tile | No | Dry lay / lock-fit |
| Yoga / Cardio | Rubber Roll (4–8mm) | Tape optional | Tape or glue |
| Temporary | Any Interlock/Roll | No | Dry lay for fast removal |
✅ Gym Rubber Tiles
✅ Rubber Rolls
🔗 Bostik Rubber Flooring Adhesives
What cutting techniques work best for rubber flooring?
Use a sharp utility knife and straight edge. Score slowly in multiple passes.

Pro Tips:
- Use new blades often
- Cut on wood or cutting board, not concrete
- Use paper template for curved cuts
- Wear gloves to avoid slip injuries
What common mistakes should you avoid?
Avoid skipping subfloor prep, wrong adhesives, poor edge cuts, and not rolling the floor after glue.
| Mistake | Consequence |
|---|---|
| Uneven or dirty subfloor | Tiles lift, gaps appear |
| No adhesive in weight zones | Corners curl, trip hazard |
| Overlapping seams | Unclean finish, tripping risk |
| No acclimation time | Expansion or shrinkage post-install |
| Not using floor roller | Weak bond, adhesive failure |
📚 Related: Top Mistakes to Avoid When Installing Rubber Flooring
How to finish and maintain rubber flooring after installation?
Clean, roll, cure, and inspect before opening the area to traffic.
Final Steps:
- Use a 50–100kg roller
- Remove glue residue with a damp cloth
- Check seams & edges
- Allow 24–48 hours curing time
- Maintain: sweep & mop regularly
✅ Conclusion
Installing rubber flooring is easy—when you prep properly and choose the right system.
Whether it’s tiles, rolls, or interlock formats, these 10 steps will help ensure a smooth, lasting installation.
📩 Need product + install advice?
👉 Request a Quote | ✉️ info@lanhefloor.com